How to Install a K&N Cold Air Intake Kit
- 24 mar 2022

How to Install an Intake System
Installing an intake kit might seem intimidating, especially if it's your first DIY car modification, but thankfully you don't have to be a seasoned mechanic to successfully install a CAI yourself. While every kit is slightly different (since they are designed to be a perfect fit in the engine bay of specific year/make/models), the following is a basic overview of how to install an intake kit in your home garage.
Installation can typically be completed in 60 minutes or less, and requires only simple hand tools. Detailed, step-by-step instructions are included with each kit.
For specific installation instructions for your vehicle, please visit the product page for the intake you want to install and view the installation instruction sheet under the Resources section. For many intake systems, installation videos are available on our YouTube channel.
Video overview of a typical intake installation:
What tools do you need to install an intake kit?
TYPICAL TOOLS NEEDED:
- Ratchet
- Extension
- 14mm socket
- 10mm socket
- Allen key
- Flat blade screwdriver
- Phillips screwdriver
- 10mm wrench
- Pliers
Always refer to the installation instructions for your specific intake part number. This general overview is for informational purposes only; the actual steps may vary depending on your vehicle and intake type. Fewer or additional steps may be required and tools may vary due to the custom nature of each kit.
Typical steps to install a cold air intake kit:
1. Turn off the ignition and disconnect the negative battery cable.
2. Disconnect the mass air flow sensor electrical connection.
3. Disconnect the EVAP vent line and/or crank case vent line from the intake plenum and valve cover vent port.
4. Loosen the hose clamps that secure the intake tube to the throttle body and air filter housing, and remove the stock tube.

5. Release the clips that secure the upper air filter housing and then remove the upper air filter housing.
6. Remove the bolt that secures the air filter housing to the inner fender or core support.
7. Install the provided edge trim onto the K&N air filter housing.
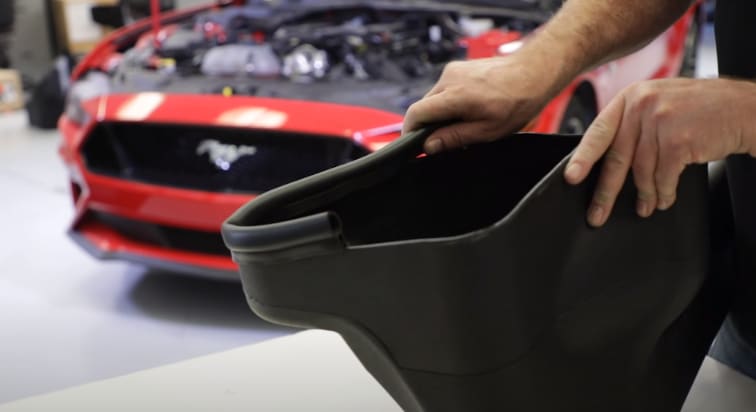
8. Install the provided gasket onto the K&N mass air sensor adapter.
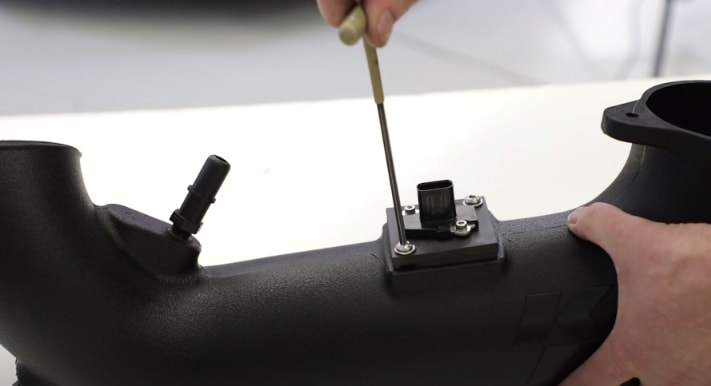
9. Remove the mass air sensor from the factory air filter housing and install it into the K&N adapter, and install the MAF sensor onto the K&N intake tube.
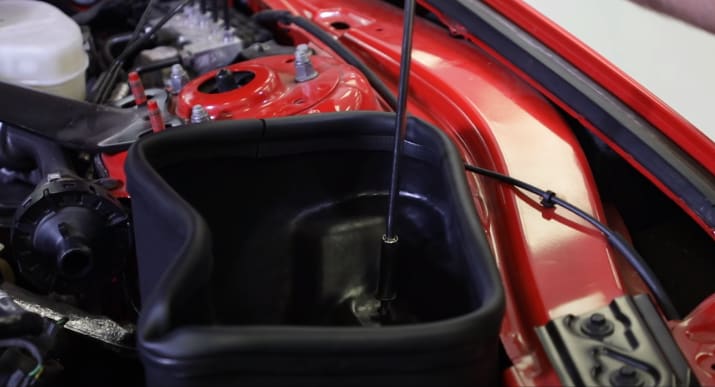
10. Install the new air filter housing to the inner fender or core support. Install the provided coupling hose onto the throttle body and secure with the provided hose clamp.
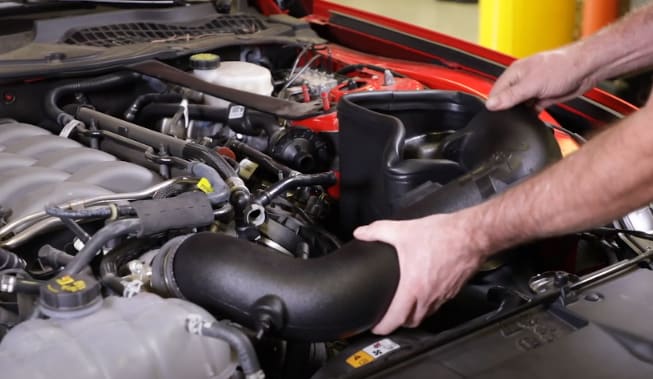
11. Install the intake tube into the coupler at the throttle body and onto the filter adapter.
12. Secure the tube to the filter adapter with the provided hardware, and to the coupling hose with the provided hose clamp.
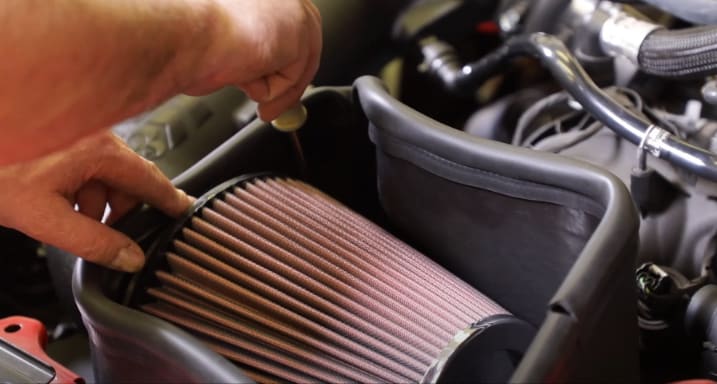
13. Install the K&N air filter onto the filter adapter and secure with the provided hose clamp.
14. Connect the EVAP and crankcase vent lines to the fittings installed into the K&N intake tube.
15. Unhook the mass air sensor wiring harness from the inner fender and then route to the mass air sensor and reconnect.
16. Install the K&N air filter housing lid onto the housing.
K&N is proud to offer best-in-class customer service. If you have any questions about installation, please contact our customer service line or email [email protected].
Do K&N Intakes Increase Horsepower?
K&N intake kits are guaranteed to increase horsepower and torque. Check out the dyno charts on invidivual product pages to see the estimated horsepower increase for your vehicle.
Other intake kit benefits:
K&N is the best in the industry in cold air intake system development, design, and testing. K&N engineers start by employing 3D-laser scanning to create a precise model of each vehicle’s engine bay, and utilize the most advanced technology on the market to create airflow-optimized kits.
In a K&N cold air intake system, air first passes through a performance air filter—typically a High-Flow Air Filter™, which is designed to provide outstanding engine protection—and then passes through an aerodynamically-engineered tubing system that helps prevent unnecessary turbulence/heat.
The included filter only requires cleaning every 100,000 miles under normal highway driving conditions (as opposed to 15,000-20,000 miles for a disposable filter), and provides industry-leading engine protection against contaminants.
SOME INTAKE SYSTEMS ARE NOT LEGAL FOR SALE OR USE ON ANY POLLUTION CONTROL MOTOR VEHICLE IN CALIFORNIA.


